Beyond the Clouds
Bringing a Character to Life (Start to Finish)
Prelude: Programs used are: Zbrush (Sculpting), Maya (Modelling, Rigging, and Animating), and Substance Painter (Texturing)
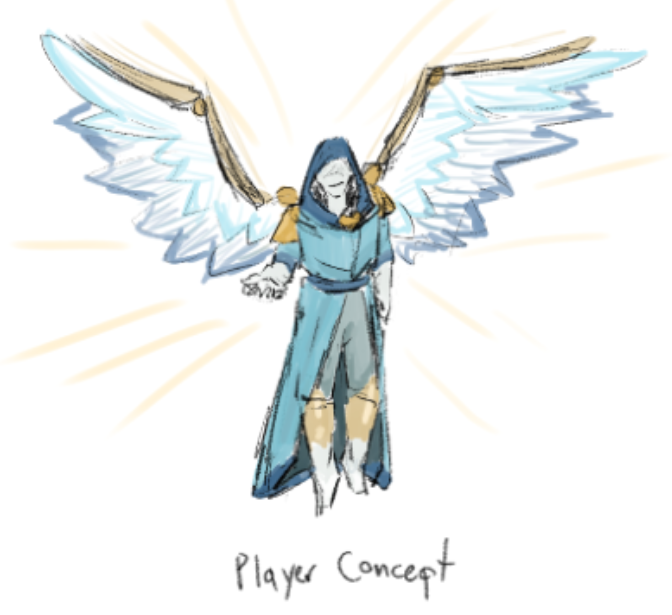
Step 1: Concept
The first stage of creating a character is designing them! For the theming of Beyond the Clouds the team decided on a playable angelic character. Not long after the decision I provided this rough draft concept and got the go-ahead on character creation.
Step 2: Model
If you have a simpler idea in mind or are more comfortable with pure modelling then absolutely go that route, but for most complex characters you get the detailed model done via sculpting. Starting with a base Zbrush humanoid, I altered some proportions and added clothes to match the concept.
Step 3: Retopologize
If you modelled your character instead of sculpting, you can skip to step 4. Retopology is required for highly detailed sculpts to bring the poly count down to game-ready levels. The sculpt has 419 thousand edges, whereas the retopologized model only has 16 thousand.
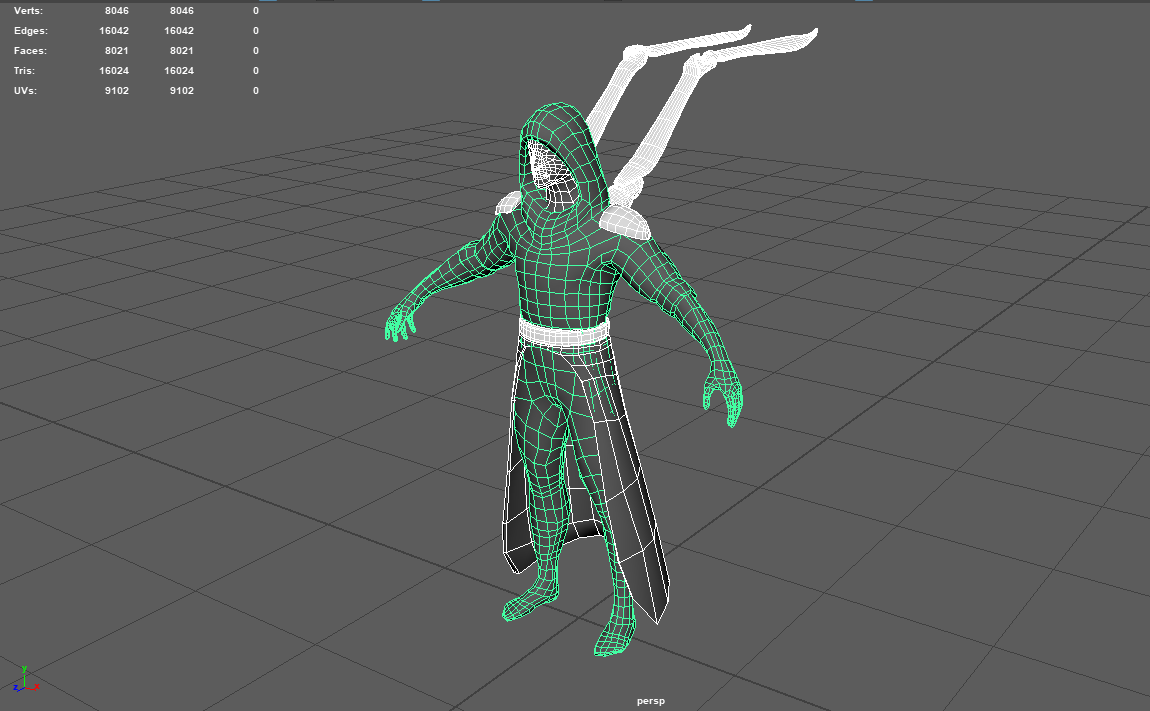
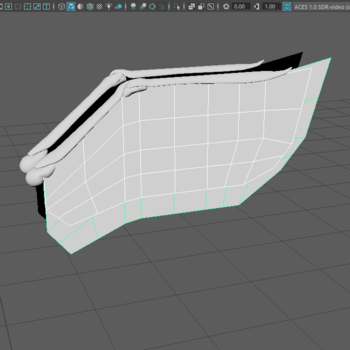
Before moving on, I also add shaped quads in preparation to create the 2D wings in step 5.
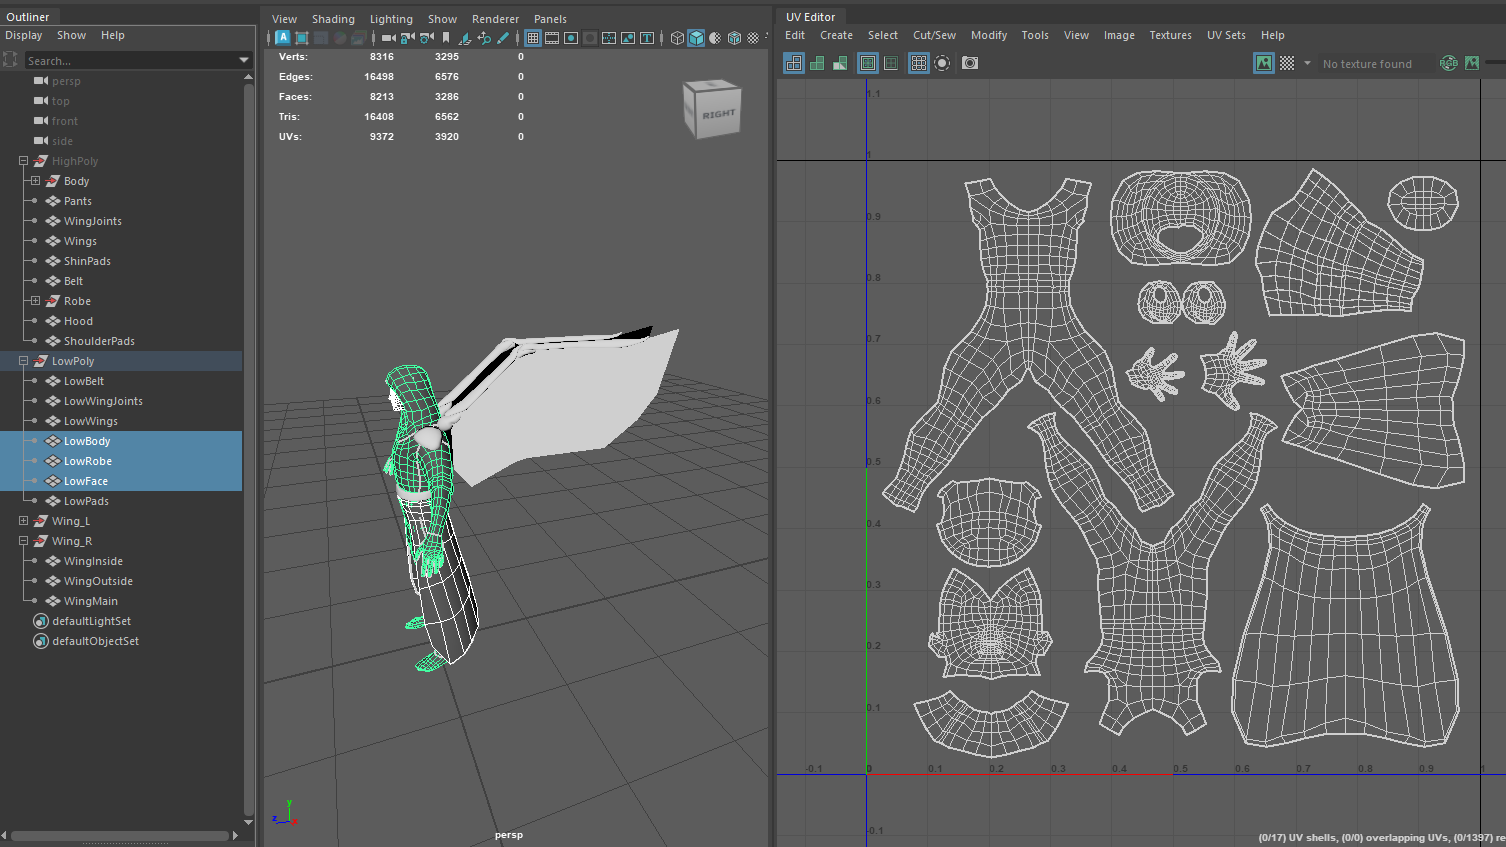
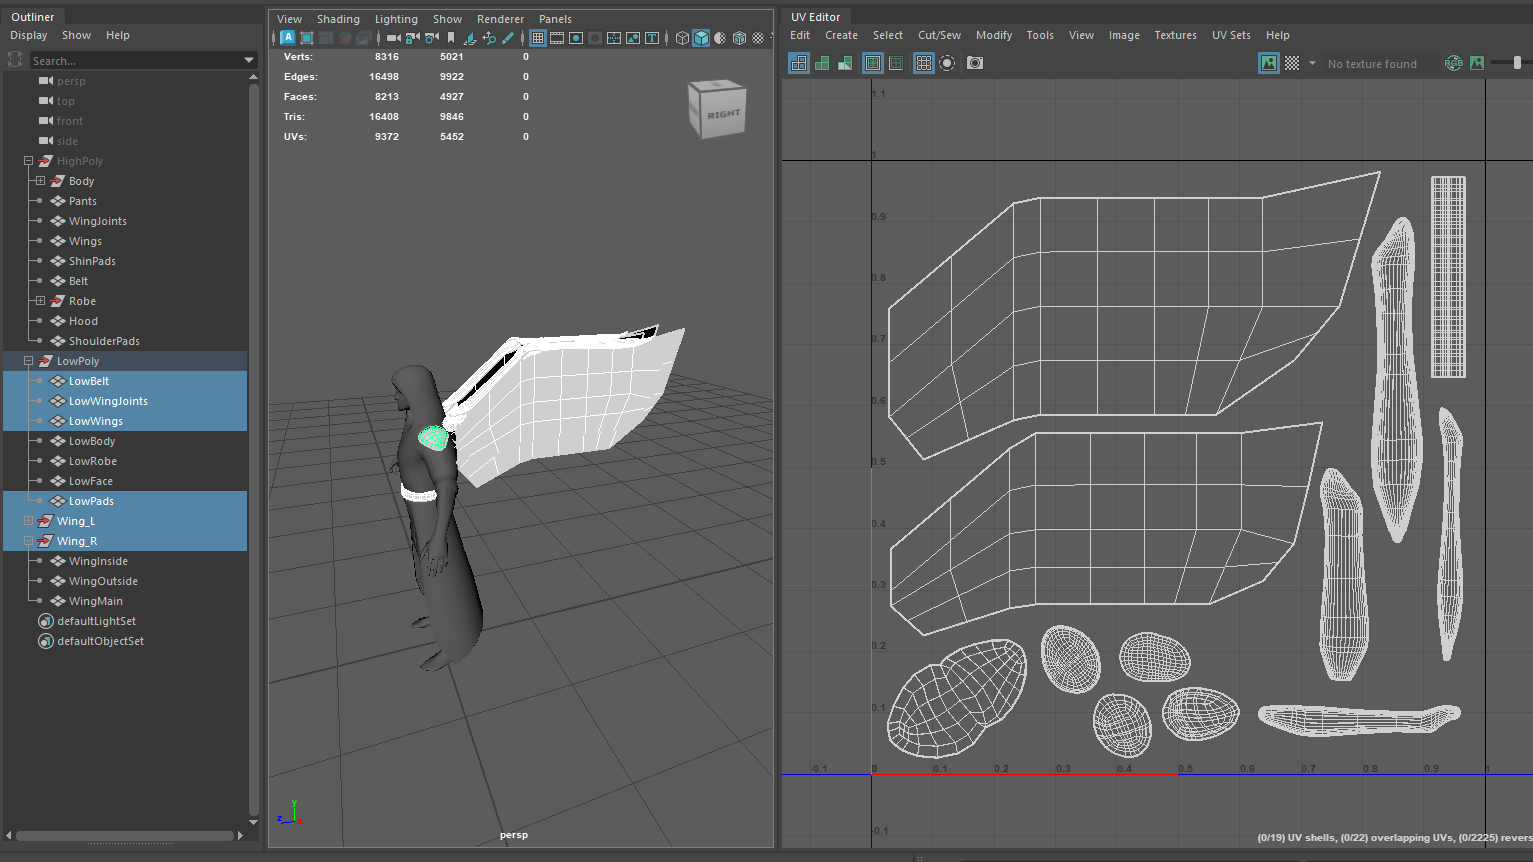
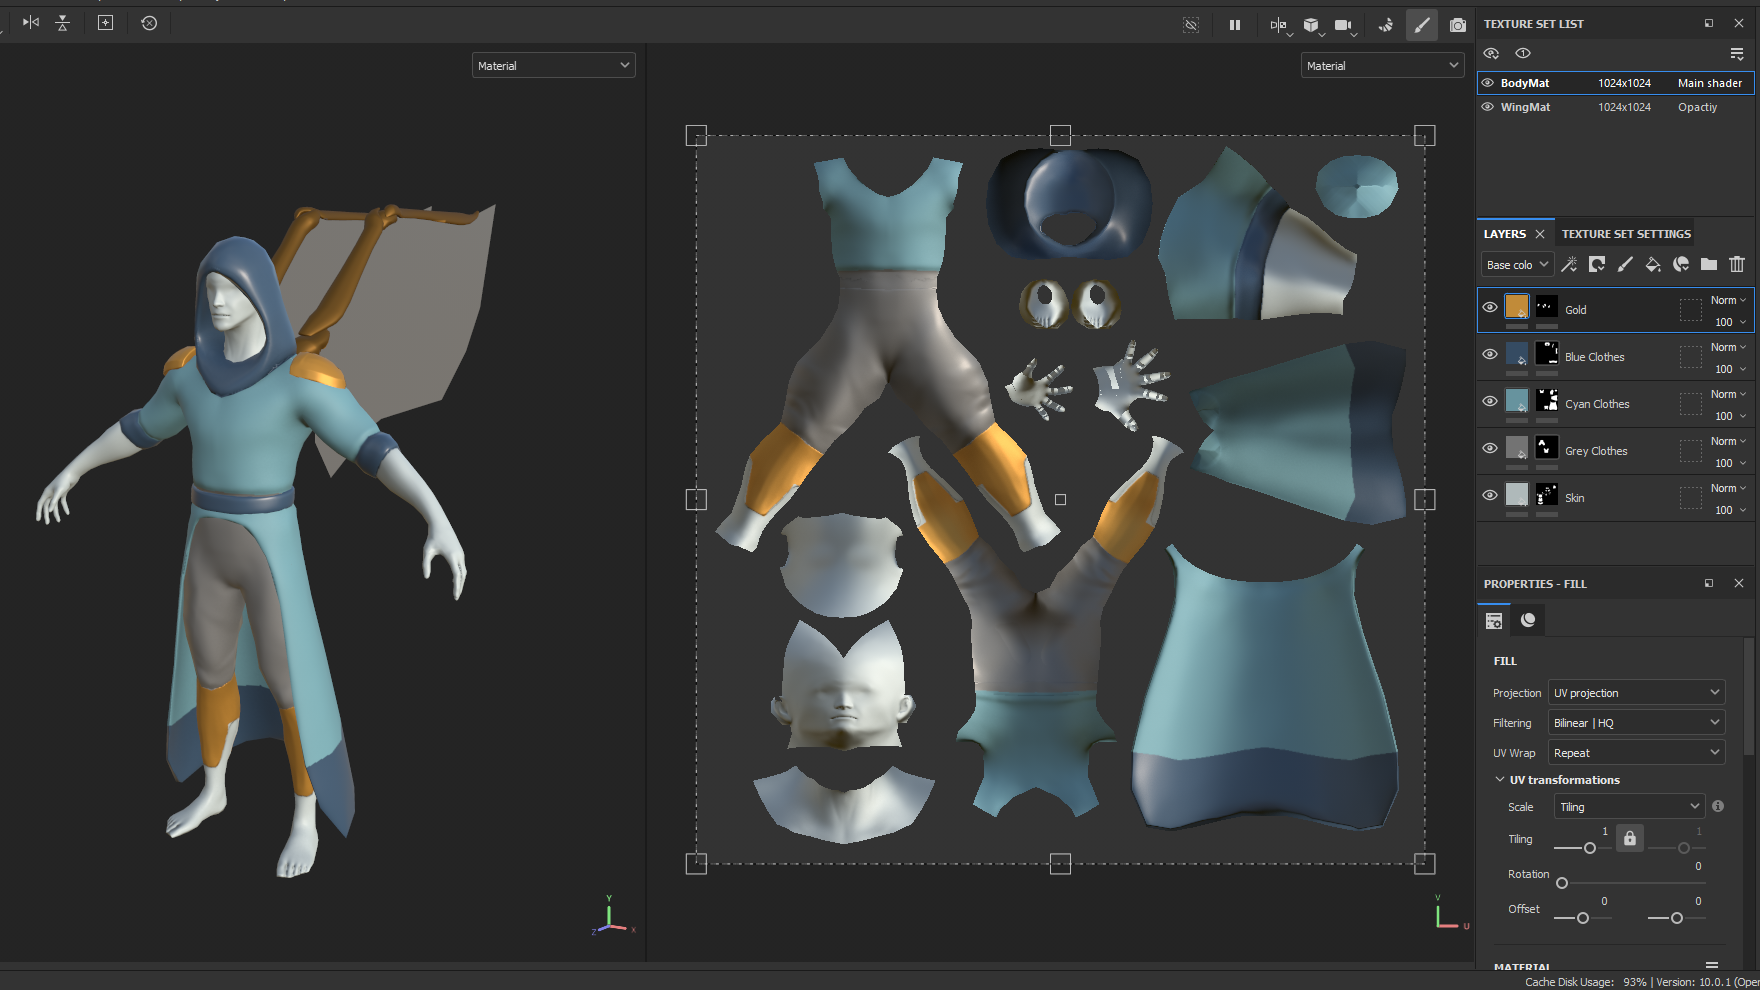
Step 4: UV
Once your model is complete, you must UV it in order to properly texture it. Minimizing the amount of cuts and keeping the faces as proportional to the original model is key. For this model there are two texture sets: The body, face, and clothes in the first, and the wings and any accessories in the second.
Step 5: Texture
If you have a sculped or high poly model with details you'd like to capture in the textures, you can bake them! Here I use the "explosion" method to get proper baked textures. Baking takes the high detailed model and 'stamps' the details onto the low poly texture. Making all the parts separated prevents overlap issues during the baking process. The detailed model and the low poly model are separated in the same way with their parts overlapped.
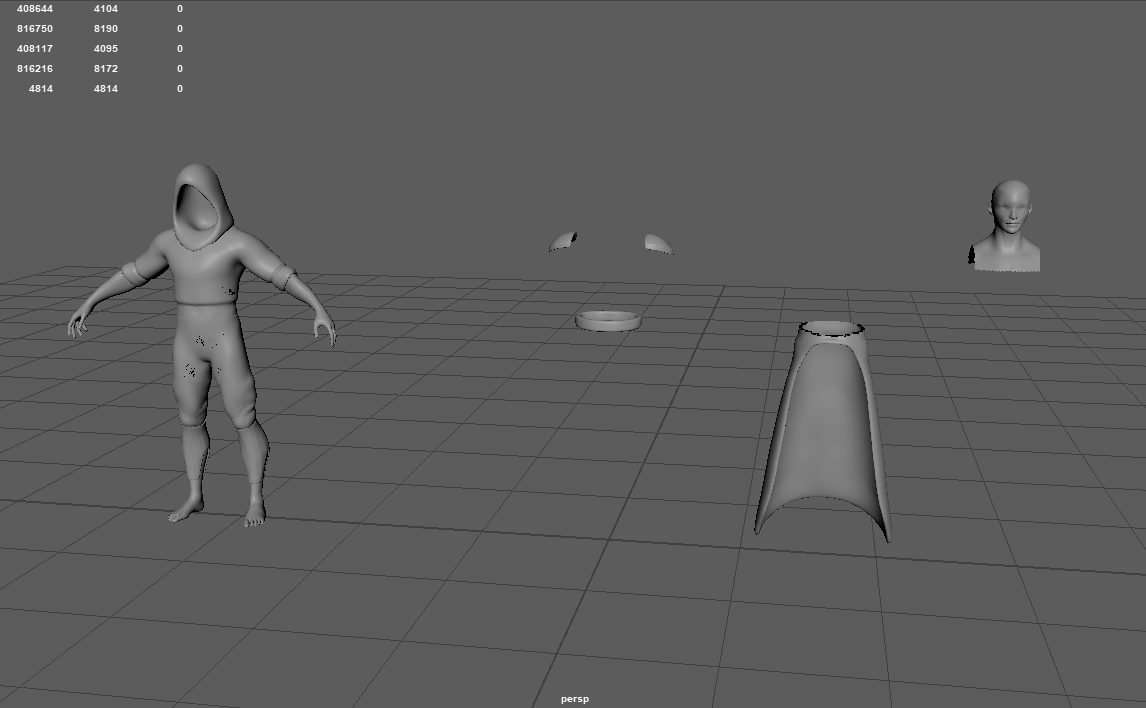
I then took this into Substance Painter and baked the details, then reloaded the mesh as the 'un-exploded' version. Since the baked details are all in the textures, swapping the mesh to the original moves everything back into place, but the textures remained detailed!
After baking your details, you can finally start manually texturing, adding all sorts of custom colors and details to your character. Personally, I start with the base colors.
After this I'll add more detailed things like scratches, fabric textures, or decals. For this character I finally get to capitalize on the wing idea I've had since the start. Using a shader with opacity I was able to carve out the design for the wings in the textures. The wings are colors and detailed, and the overall feather shapes are a mask with opacity that finalize the concept.
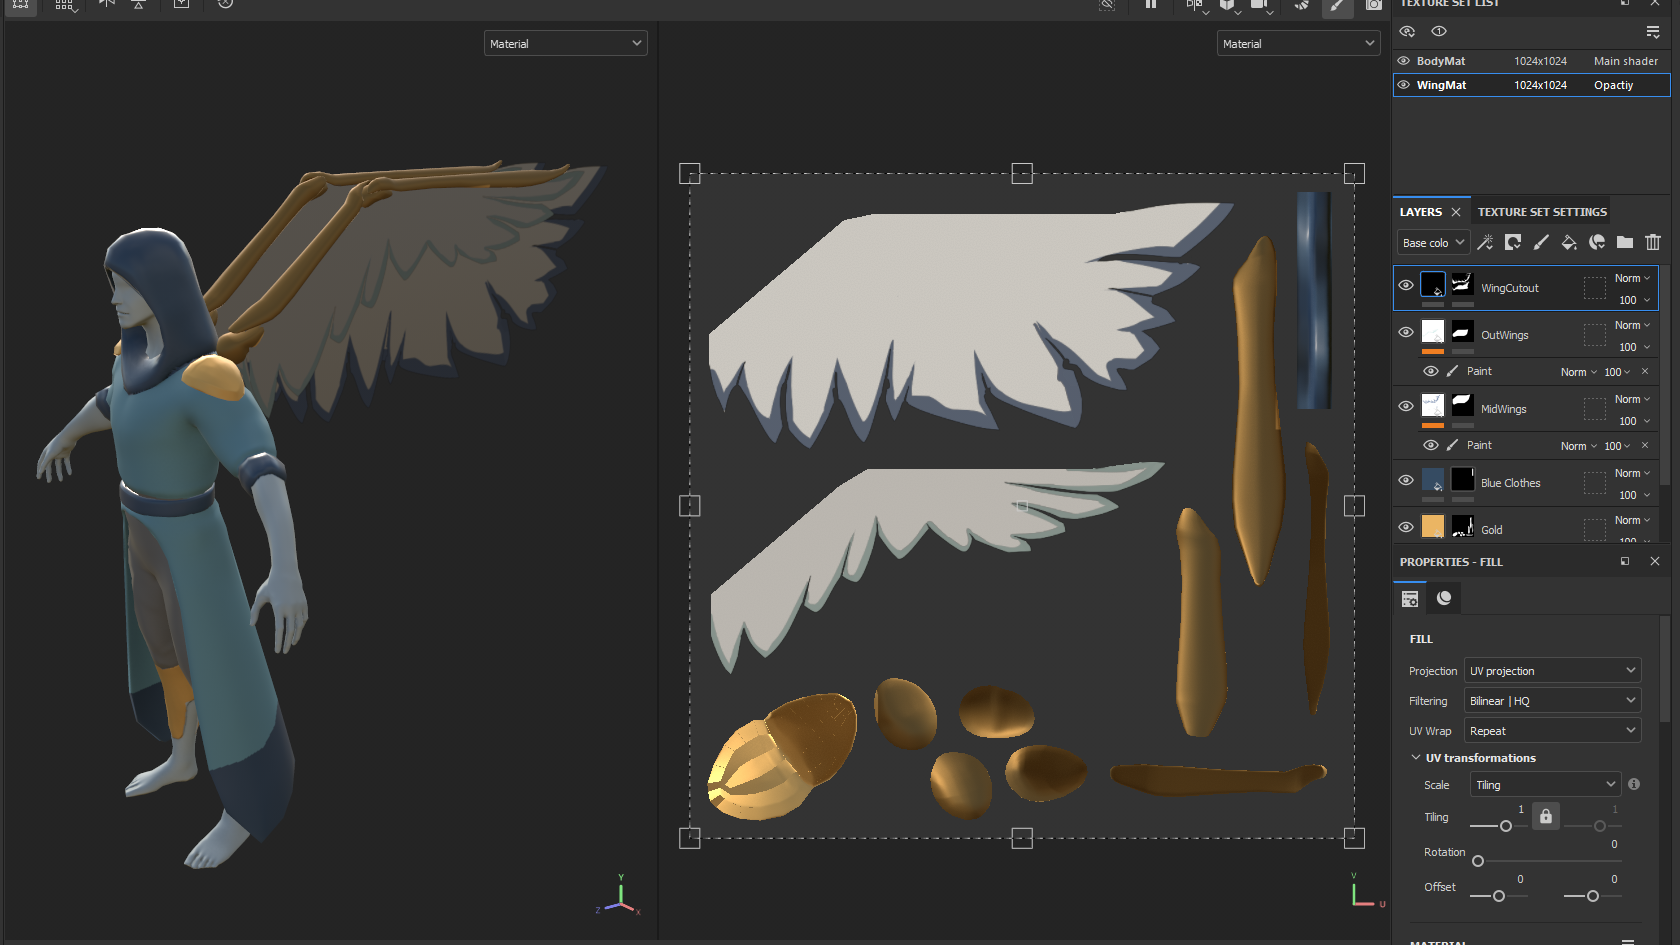
From here you save/export the textures to be used in the game!
Step 6: Rig
Although rigging is outside of a lot of people's skillsets, I heavily recommend having someone on your team that understands it. It allows your team to execute on more customizable ideas. It is by far the most technical and time consuming part of the process to get everything set up and working, but by the end you have a customized rig for your character with many unique attributes as needed, perfect for the animators in the group. Without my rigging knowledge this character wouldn't be possible; the wings and robe alone would cause too many issues.
I won't delve into the process, but here is a gif showcasing the fully built rig:
Step 7: Animate
Once the rig is complete you can hand it off to your animators. (Remember, a better rig gives the animators more room to breathe life into your characters!)
Here's the idle animation I made for the angel:
Step 8: Implement
Once all of this is done, you can export all your required textures, models, rigs, and animation to your development software of choice and finally see your character in action!
Leave a comment
Log in with itch.io to leave a comment.