Beyond the Clouds
Making Turntables for showing off your 3D Art
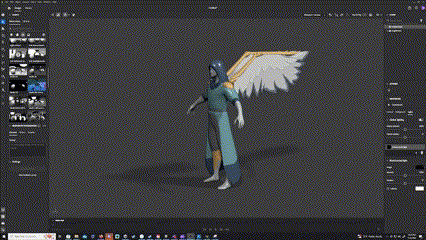
Hello everyone this Andrew Dean again, over the course of the project I have made some models that I am proud of and wanted to show off. But what is the best way to show off a model outside your game? After viewing several portfolios on ArtStation and YouTube, I decided that using a turntable to show off my models in the presentation would be best. So I went and did some research and found a pretty simple way to make a turntable and render it out as a video to use in a portfolio, and I am going to share with you my findings and process step by step here in this post.
Step 1: Download Adobe Substance Stager. This will be the main software we use to create the turn table effect.

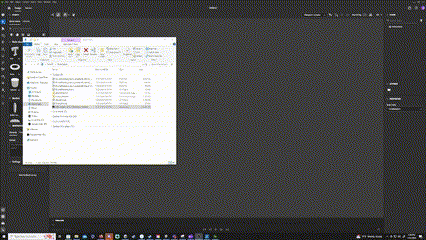
Step 2: After Downloading Adobe Substance Stager, import a model using .OBJ or .FBX by clicking and dragging the model into Adobe Substance Stager. Click Import and you may need to press F to focus in on your model depending on the size.
Step 3: We are going to remove the grid so we only see our model and background. In the top left, click on view and uncheck show grid.

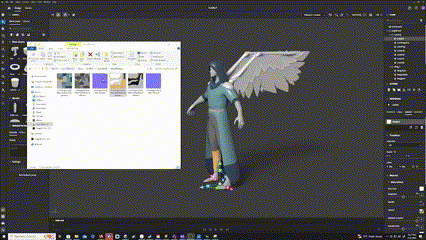
Step 4: Let's apply the textures by dragging and dropping them into their corresponding places. Click on your model in the viewport. You should see a properties panel beneath the scene panel on the right side of your screen.

In the properties panel, click on the Material tab. You will see a Base Surface drop down arrow. Here you will find your Base Color, Normal, Height, Metallic and so on. Drag and drop your texture maps into their corresponding areas.
Step 5: Now that we have our textures added, let's quickly change the background lighting. We can choose from some of the presets by searching through the Starter Assets library in the Lights tab under the Assets Panel on the left side of the screen.
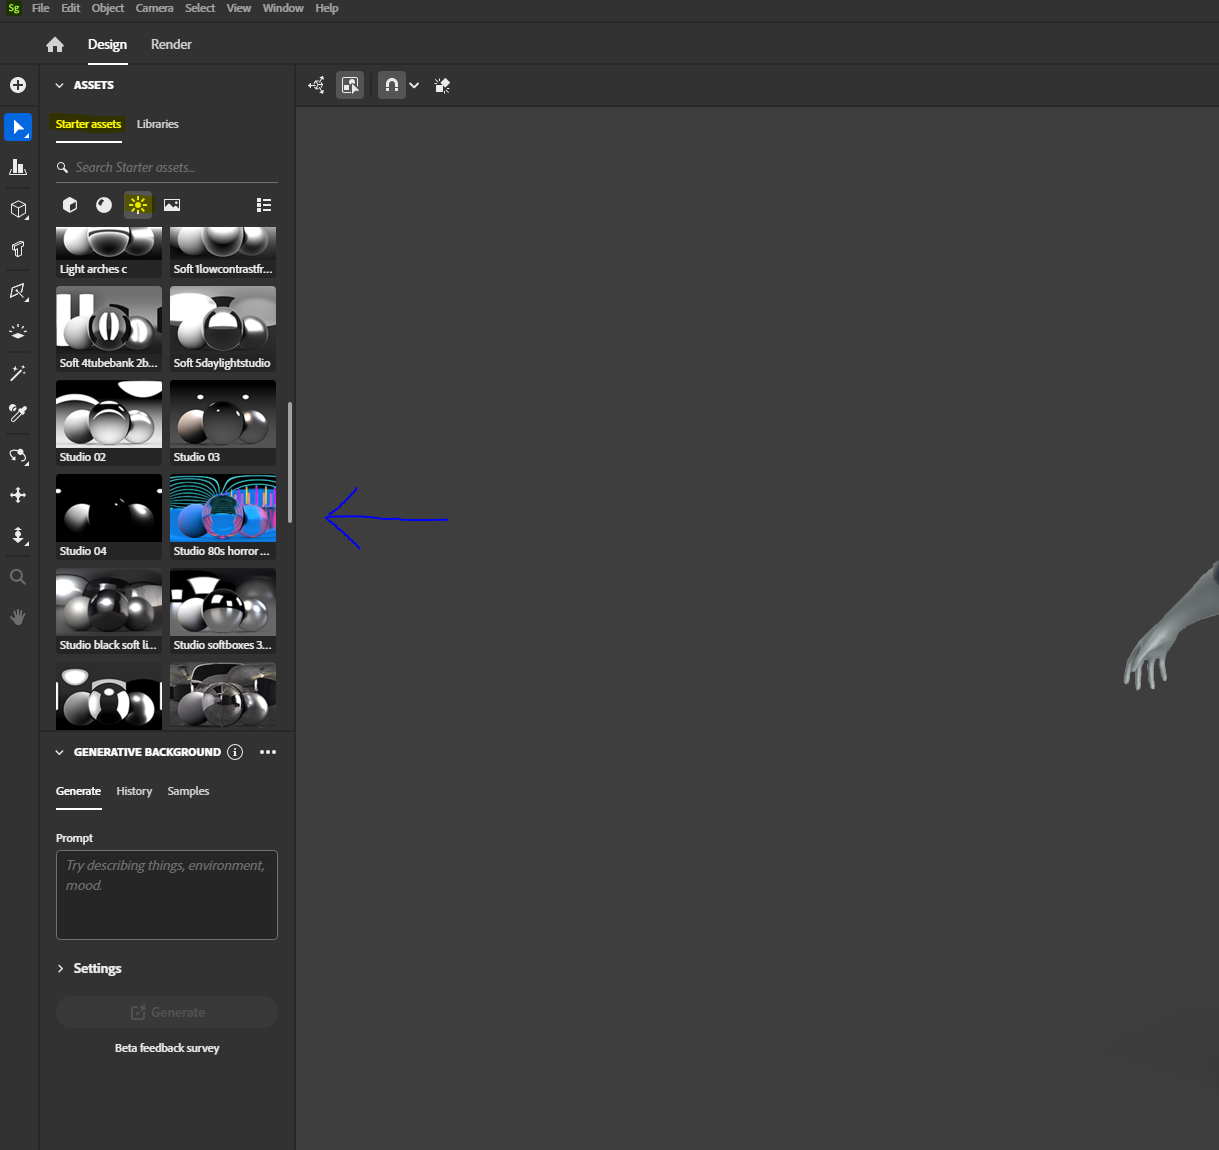
Let's pick Studio 04 for this example. Click and drag Studio 04 over to the Environment Light tab Image.
Make sure you are clicked into the Environment in the scene tab in the top right of the screen, and click into the Lights section.
Step 6: Let's make the scene a tad darker, click on the colorize check box and click into the color picker selection next to the checkbox. Let's make this a slightly darker gray color to make it a bit moodier. You can also turn down or up the intensity to make your scene darker or brighter. I will be leaving my intensity at 100%.
Step 7: Now let's make this thing spin. First, you will need to click on the model again in either the viewport or scene section in the top right. Next, we will need to click the Animation tab in the properties panel. You have two options. You can either click orbit or spin, for this video lets just choose spin. Furthermore, you can set the duration, I like 15 for my purposes, but you can select for however long you want.

Step 8: Lastly, we just need to render out the video. In the top left you will see we are currently in the Design tab, let's click on the Render tab.

On the right hand side you can decide where to save your video and also what format you would like to save it as well. Today we are going to choose MP4 as our format and 60fps as our frame rate.
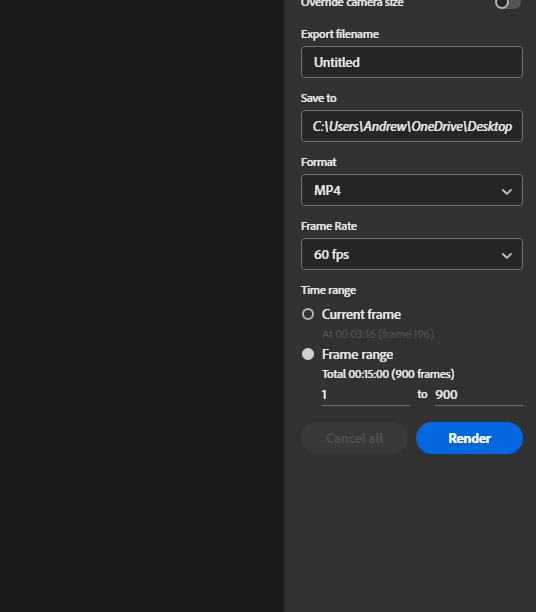
You can choose on the left side whether you want to render in real time or using raytacing, as well as the quality of the render. I left everything as default for the purposes of this tutorial, but feel free to dive into these render settings to make your models look as good as possible for your portfolios. Last thing we need to do is click render and add it into our portfolio's.
I hope you found this tutorial useful and easy to follow. Thank you, have a great day! I will see you Beyond the Clouds on July 23rd!
Leave a comment
Log in with itch.io to leave a comment.